


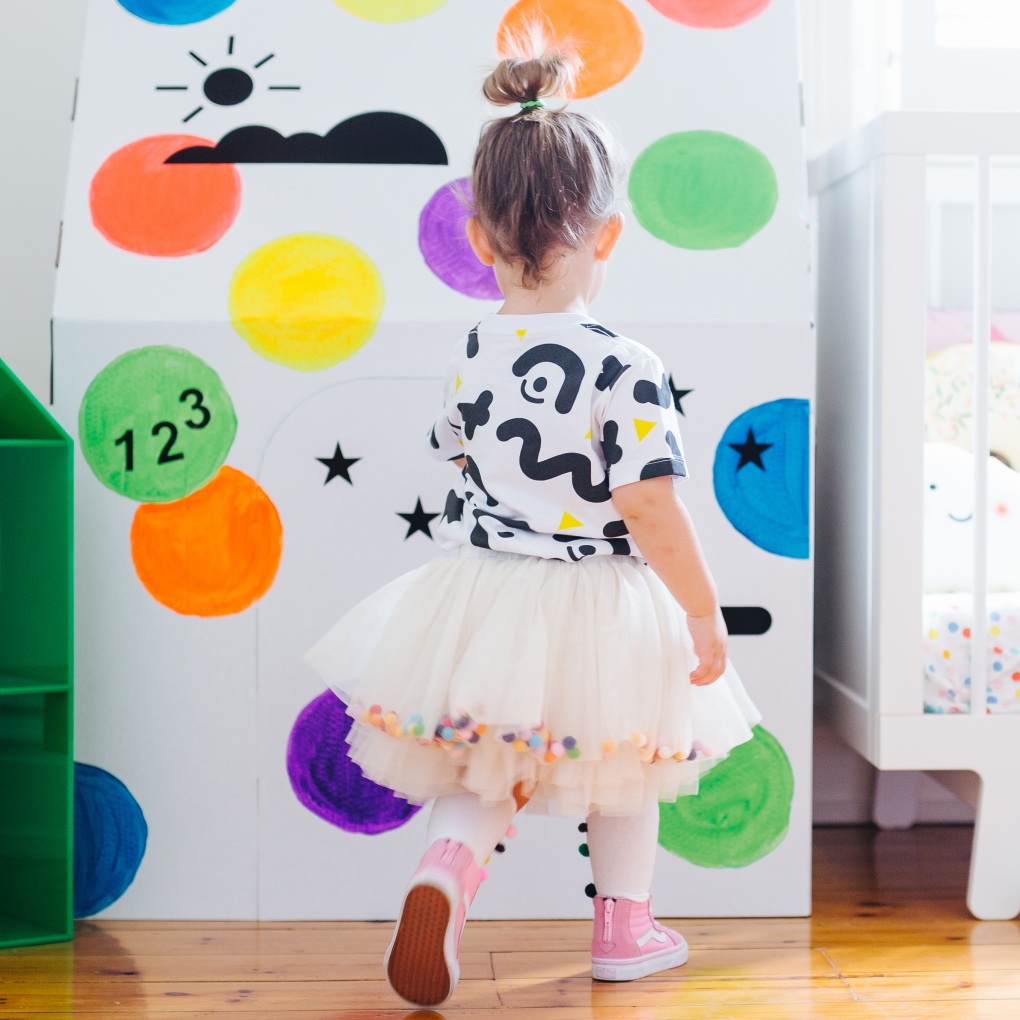


I don’t know about you guys but my kids are the BIGGEST snoops when it comes to tracking down their Christmas gifts. Aside from those from the big red man we always have a little gift exchange over breakfast with the presso’s we’ve chosen for one another wrapped under the tree. Eddie’s fishing rod last year….SUPER OBVS. Lily’s netball? ALSO OBVS!!
This year I’m determined to give them some element of surprise and delight on the day. They’ve both got their eye on fit bits and iPods, I just had to throw them off the scent, insert Australia Post Surprise Disguise wrapping kits!
Srsly, how fun is this idea. The handbag is genius, Lily will be certain she has her gift nailed. And that pyramid is going to keep Ed guessing for weeks! Check out the awesome range of creative gift disguise ideas from Australia post: HERE
This post was sponsored by Australia Post, click here to find out more about how Aus Post is helping to keep Christmas a surprise this year. xxC


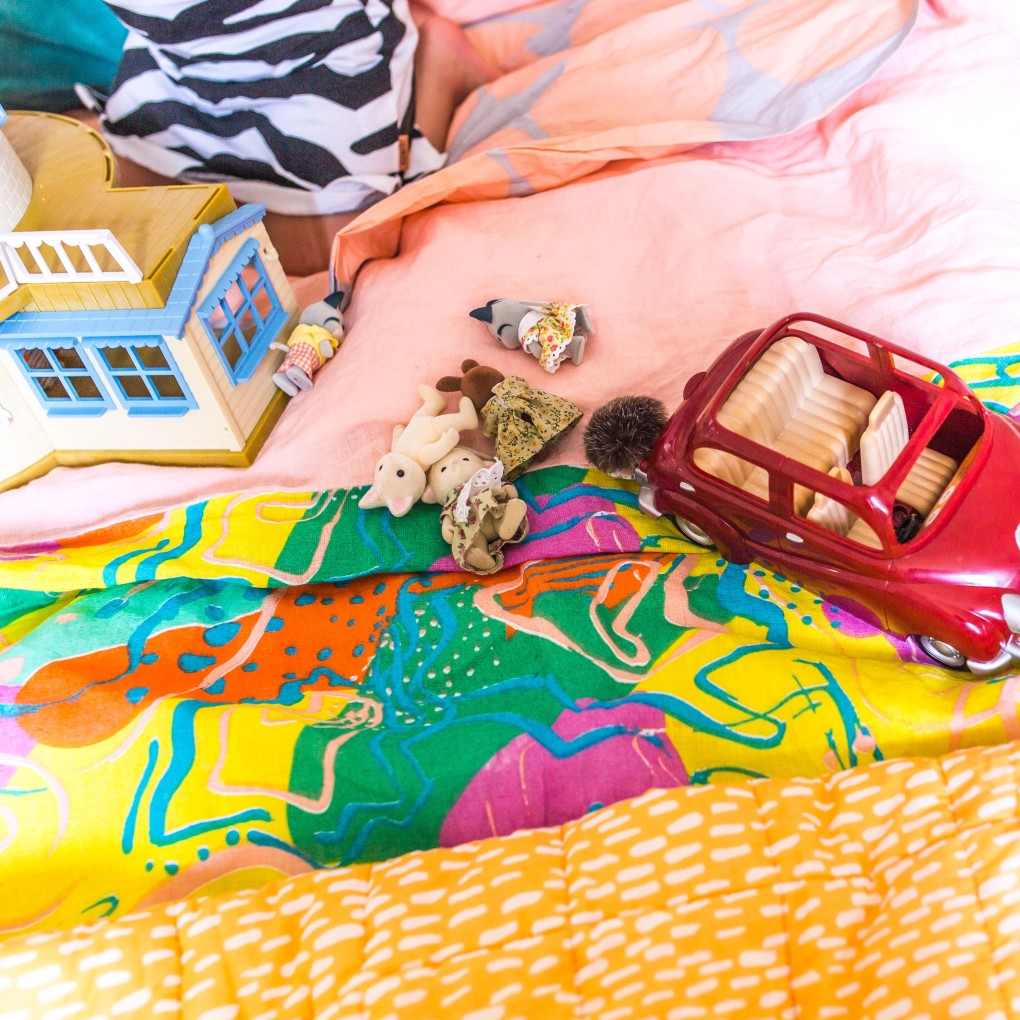
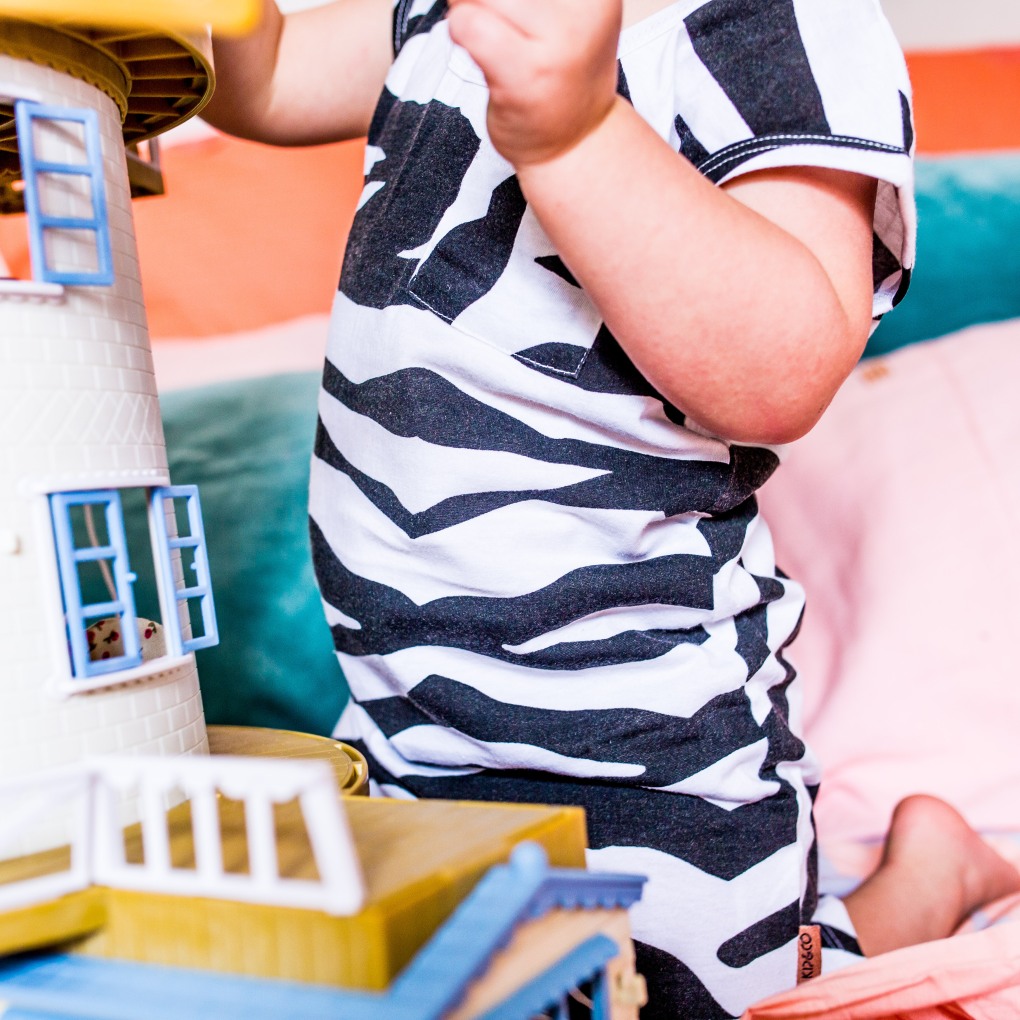


As Summer arrives at last it’s time to give our master bedroom a fresh burst. Full of energy and zest Kip & Co show us once again that colourful fun linen doesn’t have to reside only in the kids bedroom. I mean, why should they have all the fun! My favourite pick this year would have to be the peach big spots sheets set, but that’s a massive call, soooo many gorgeous prints to choose from. But the clash and the mash is what it’s all about these days and brought all together the fresh energetic vibe here is exactly what I was after. You can shop Kip & Co SS15: HERE
To make a simple DIY feather garland like this, you can purchase these strands individually (layer, trim, pin and arrange as you please) from Poppies for Grace: HERE


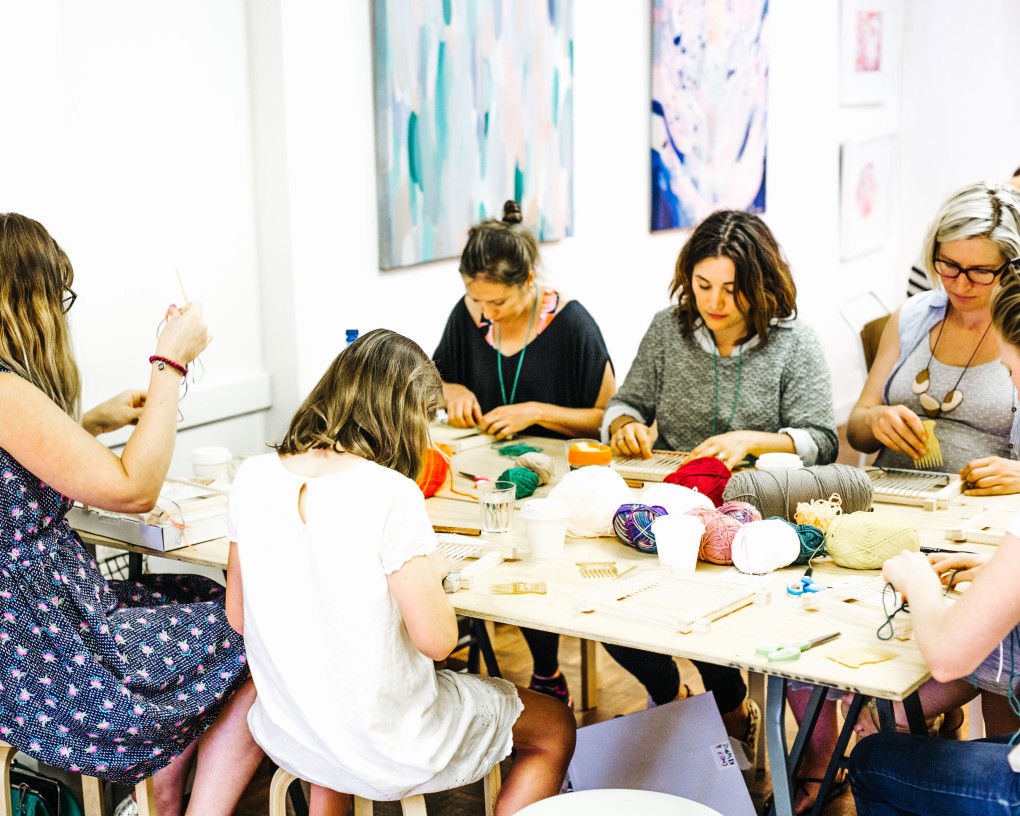


Today Lily and I were lucky enough to go along to the Chief & Kewpie Weave School. Held at the divine Bricks and Mortar Creative Retail Hub in Adelaide, we could not have asked for a more fun filled morning. I actually don’t know where to start, the atmosphere, the gorgeous creative like-minded attendees, the plethora of beautiful wool and colours to choose from. And of course Kel herself, ADORE this girl! So inspiring. So much fun. And it’s not often I am ‘out coloured’, CHECK OUT THAT DRESS! To see more of Kel’s work you can take a peek – HERE. xx C
Claire’s Dress: Bohemian Traders, Kel’s Dress Gorman Clothing


Happy Father’s Day to my Gorgeous Husband. I’m so proud of the life we’ve made together. Ruby is so incredibly lucky to have you as her Daddy. I couldn’t ask for anything more. There’s really nothing quite like the Daddy Daughter bond is there!?
After a lovely breakfast with my parents spoiling my fabulous father we’ve had a day at home today. Poor old Eddie (12) has the flu, missed out on his footy finals, and has been feeling down right awful. So winery lunch was cancelled, noodle soup, icy poles, movies, books and cuddles were in order. This isn’t a sponsored post, but I’m making a conscious effort to share things I love here, to keep it true to me, my family, our lifestyle. So this brand, I don’t even know if they have an Instagram account, like, for real. But check it out!! This DIY cubby house!! Can you handle it? I stumbled on these “Build Your Own Cubby” kits at “Imagine If” recently (Australian toy store chain) They come with a variety of plugs, suction cups, and hooks. All you need is a sheet – insert Kip and Co rainbow heaven ! And you’re off and racing. Attach to chairs, windows, tables, or even Ribba Bookshelves and the mantle as we did today. Gone are the days of balancing piles of books on top of sheets to hold your cubby in place, only to find them all crashing down on your head moments later (so many hysterical cubby house fails from my childhood are springing to mind right now! OUCHIE!!!!) So I’m pretty excited about this find. Cannot wait to show Lily she will actually FLIP! Pretty confident it will be cubby central over here for the next few months!
I can’t even find a website for this awesome product. But you can shop via Urban Baby: HERE

Ruby wears brand new Summer Oishi_M, you can shop the range: HERE
XX Happy New Week! C


Three days into Spring here in South Australia yet still not even a glimpse of actual sunshine. To say we are over Winter is an understatement. Cold’s and flu’s all round have meant a whole lot of craft over at our place. I’ve always wanted to try a peg board stationary organiser so whilst stuck indoors this has been the perfect chance. I made a lot of mistakes when it came to actually mounting this baby to the wall, but over all I’m really happy with how it came up – not bad for a first try! And miss Ruby couldn’t be happier! Next step – one for my office. I’m hoping to post a step by step DIY on that one so if you like this, stay tuned! Feel free to sing out if you can’t wait until then, happy to talk you through it!! xx C


Ruby is OBSESSED with drawing. In fact both my girls are. So when the husband announced his latest business trip I thought LET’S DO THIS. Ruby’s cot has been temporarily moved to our room after a string of terrible winter bugs, so it was the perfect timing to get started. I have to admit, I enjoyed this more than I expected. There is something therapeutic about painting. This particular Dulux chalkboard paint had no fumes, no drips, I actually cannot believe I pulled this off without destroying the carpet! I had anticipated blogging a DIY on this, but to be honest, they are everywhere! Whack it into Google😉. It’s that simple, tape up your edges, and get painting. The only thing you need to know is this. PRIME your wall after your paint has dried. i.e.: Get a piece of chalk, hold it on it’s side, and rub it all over the place. Then wipe it off with a cloth. If you don’t do this? Your first drawing will be there pretty much forever. I hope you enjoy these pics as much as we did taking them. And how gorge is Ruby’s fave outfit from the super cool Yellow Dandy Shop – so on point in here. From Gardner & The Gangs latest “Into the Tropics” she is in her element! Middle of winter here in Australia we are nowhere near the tropics, but it was kind of fun bringing the summer fun to us instead. So excited about the endless possibilities in here! And for those who follow me on Instagram, I have to say it – I’m finding it incredibly awkward writing without Emoji here. How do you even understand what I mean!?!?! #thestruggleisreal XX C
PRODUCT DETAILS:
Chalkboard paint: Dulux
Ruby’s outfit: Yellow Dandy Shop
Giant Cactus Floor Pillow: Into The Fould
Balloon & Honeycomb Balls: Poppies For Grace
Watermelon Bathers: Molo
Stools: Third Drawer Down
Mirror: Bride & Wolfe


Mountain Blanlket: White Fox & Co
Honeycomb Ball Decorations: Poppies For Grace
Cowa- Bunga Pillow: Kawaiian Lion
Donut Stool: Third Drawer Down
Rug: Armadillo & Co


After the huge amount of interest my kids were showing our beloved fiddle leaf fig trees that lived in the play room, their leaves rapidly began to droop in fear every time the troops entered the room with their light sabres and raucous enthusiasm. But I missed the greenery and freshness the plants (safely relocated to another area in the house) added to the room. Which brought me to a little craft project over the weekend. I’ve been super keen to try this out on a larger scale for my own plants, so thought why not test run first and create a rainbow succulent garden for the kids play room.
And would you just look! I am THAT happy with the results. Check that out! Super affordable, and a really fun project that the kids could also get involved in. I did use spray paint so that part was obviously left to me, but the digging, planting, and pebble laying were something the girls really got into, and of course the watering is going to be left up to them (hence succulents being my plant of choice! ;))
Here’s how I did it:
I read mixed reviews on whether or not I should seal the terracotta pots before I painted them. Some blogs suggested sealing before painting, some suggested after, some said it wasn’t necessary at all. So being lazy, and always in a rush to see my end results, I skipped that step, so far so good the plants have been watered twice with no change to the paint at all. If you do choose to seal your pots it is suggested to leave a few spots unsealed, so that excess water can still drain away from the plants. If you’re unsure if you should or shouldn’t, I normally read a bunch of house and garden style DIY’s before embarking on a project, take an average and go with that. So far so good!
I decided I wanted the inside of my pots to be white, probably un necessary but the effect is nice. So to start with I sprayed the inside of the pots white and let them dry.
I then sprayed the pots in my colour choices. On reflection this would have been a super cheap exercise had I just chosen two colours, painted the pots white and decorated with one pop colour (or even a metallic, imagine!) but I of course wanted a rainbow for the kids and at $8 per can of paint and $3 per terracotta pot it wasn’t an overly expensive exercise at all.
I then left the pots to dry for 24 hours before painting my white details. Some of them I did free hand. And the angles I did quickly and easily using painters tape. Just make sure you’ve let the first coat dry sufficiently before applying and removing tape. I learnt that the hard way (again, impatient) .
And that’s it! We placed white gravel on the top layer of soil to create a nice effect for indoors. And there you have it, a gorgeous little rainbow mantel of succulents for the play room. and a very eager 20 month old begging to get them down to water! Speaking of Miss Ruby, she wears my latest kids label crush, the gorgeous Oishi M. Stay tuned I will be bringing you more on them really soon!
xx Claire


My gorgeous wee Second Cousin Miss Olive turned four recently, and to celebrate her parents threw her the most immaculate fun-filled backyard carnival I have ever laid eyes on! The styling, the colours, the whole aesthetic I think you’ll agree is just next level GORGEOUS! All the happiness in the world just radiates from these pictures, the adults looking just as pleased as the children with the festivities! The games, the food, the vintage and pastel tones, I can’t get enough! I asked Mum Pip how she came up with this creative idea, “A visiting circus was in town, and after a bit of Pinterest stalking, a carnival theme quickly became a great idea. A long time black, grey and neutrals fan, I didn’t want to completely let loose on bright colours – so I settled on a ‘Vintage Carnival’. With gorgeous costumes, decorations and spread of activities, we had a fun-filled day of carnival chaos!” says Pip. The tightrope walker costumes for birthday girl Miss O, and her baby sister, were the best I’ve seen, complete with a stunning DIY feather-head band made by clever Pip herself, and teamed with Tutu Du Monde sparkly ‘show stopper’ shorts. The games were a hit! “Bobbing for apples quickly became lets throw the apples in and see them splash” says Pip. “But the chaos was surprisingly all part of the fun.” The classic clown piñata was adapted from Pips own piñata making tutorial : You can read more on how to make one HERE. Other activities and details included:
And as for that eloquent cake… The Carnival Cake – based on Sweetapolita’s birthday medley, was constructed with raspberry jam between layers of blue funfetti stars, pink amarena cherry and rich chocolate. Fondant icing was decorated with hand painted green, blue and gold and finished with handmade flowers and elephant cake topper. Other tasty carnival treats included:
Pip and her sister Lex have a gorgeous blog, you can follow their beautiful families, their recipes, activities, and styling over at Two Houses blog : http://www.twohouses.com.au/
Photography credit: Oliver Bain Photography
